|
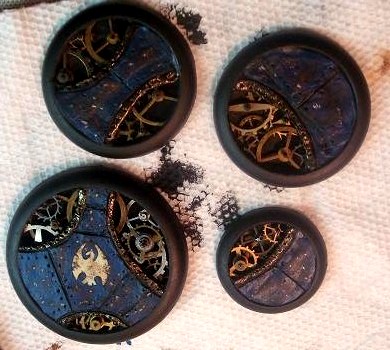
Tick Tock Basing!
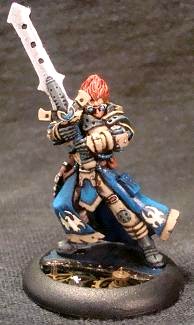
I got a Cygnar Battle Box as a prize for a winning in the Origins painting competition and thought I would try something
knew. So I decided to use some old watch parts I had on hand and make some clockwork bases.
Materials:
-A base... kinda
a given
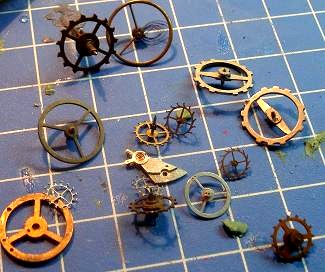
-Cogs and Gears (i got mine
from ebay by searching under "Pocket Watch Parts")
-Paint
-Greenstuff
-Supper Glue
-A white crayon
-A hobby file
-Hobby Knife (I use two: straight
and curved bladed)
-Something to use to sculpt
with (the dull side of the straight blade hobby knife can work for this too)
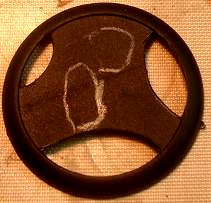
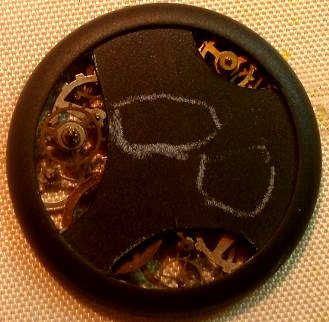
Step 1:
Clean the base of any flash and then mark with the white crayon where the models feet will go and the spots that
you want gears to show.

Step 2:
Using the hobby knife cut out the areas for the gears then file down the rough spots. Also cut off the the channel where
the mini normaly goes that way it is out of the way of the gears.
Step 3:
Pick out the gears you want to use and set them under the base to get a idea of the spacing. Some will have pins
that stick out to far and will not fit. Pull these out or cut them off just as long as the base will lay flat.
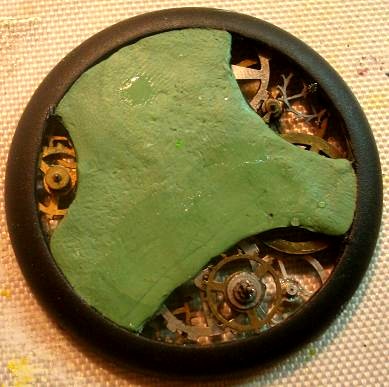
Step 4:
Glue and greenstuff down the gears starting form the top most and working down.

Step 5:
Cover the top of the base with
green stuff. I take a little and smooth it out starting from the middle and working to the base edge.
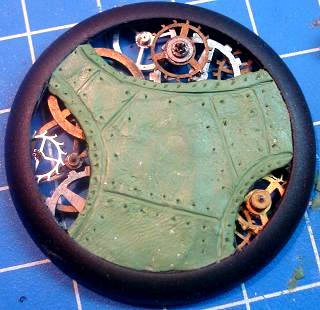
Step 6:
Now with the dull side of you
hobby knife or sculpting tool carve the floor plates in. I started with the edging of the openings then did the plates
keeping the blade nice and wet. Next find a nonstick flat surface (you can use wax paper if you don’t have a nonstick
hobby mat like mine), flatten out enough greenstuff to cover all the openings from the underside keeping it really thin and
let it and the base cure over night.
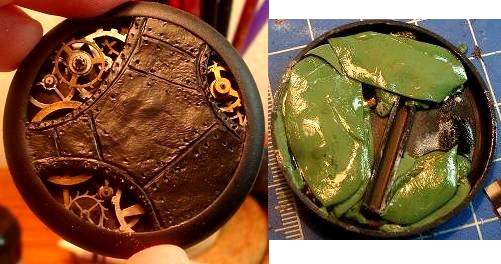
Step 7:
Paint the green stuff on the
base and the flattened piece black. Let both dry good and then take your flattened piece and cut it if need to fit your underside
of the base and glue it down.
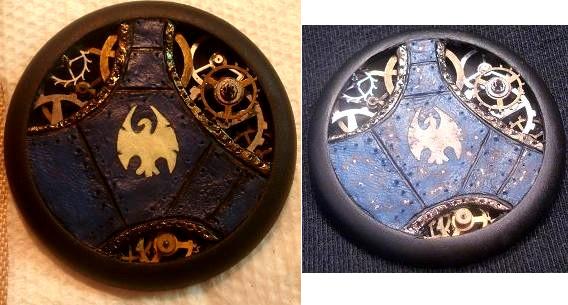
Step 8:
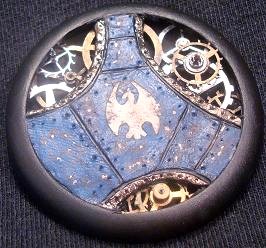
Now all that is left is the painting! I did the free hand first then painted the blue and
gold. Last I added the wear and tear cleaned up any spots on the base ring where glue might have got with the file,
painted the base ring black and DONE!
|
